
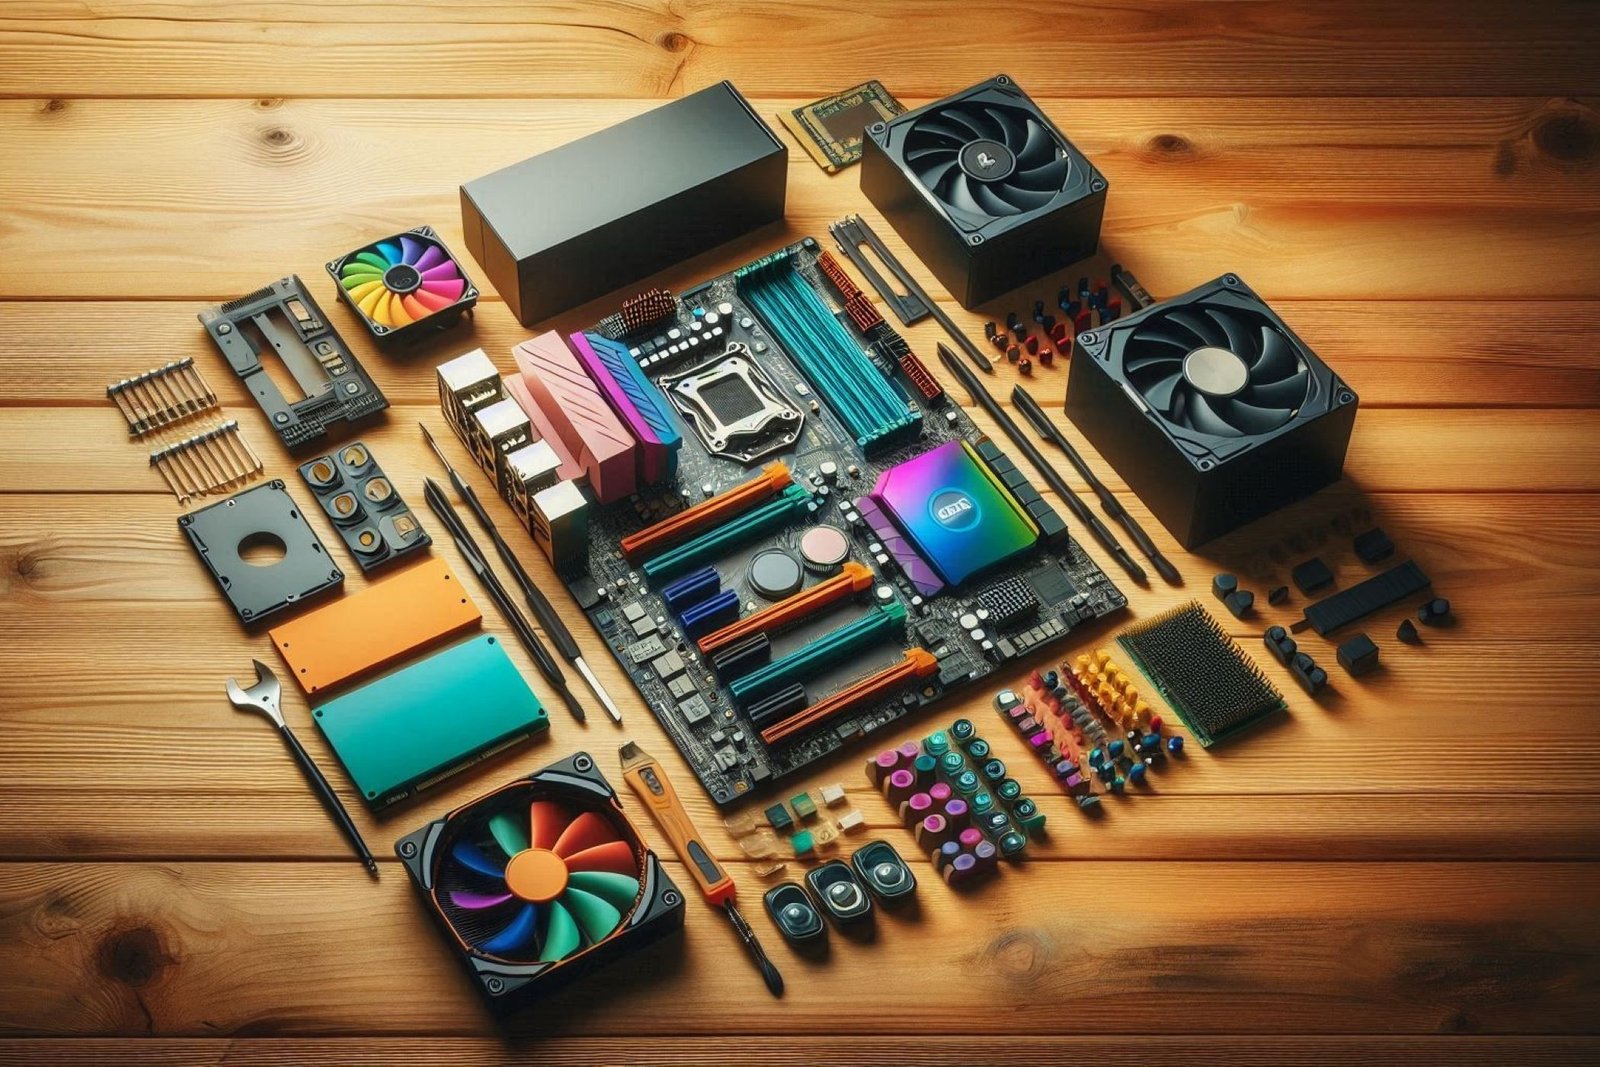
Tips for building a successful gaming PC encompass everything from selecting high-quality components to managing cables efficiently. Dive into this comprehensive guide to unleash the full potential of your gaming rig.
Components Selection
When it comes to building a successful gaming PC, selecting high-quality components is crucial to ensure optimal performance and longevity of your system. Investing in quality parts will not only enhance your gaming experience but also prevent potential issues in the future.
Essential Components for a Gaming PC
- CPU (Central Processing Unit): Known as the brain of the computer, the CPU handles all the calculations and tasks required for gaming.
- GPU (Graphics Processing Unit): The GPU is responsible for rendering images and graphics, crucial for smooth gameplay.
- Motherboard: The foundation of your PC, connecting all components together and determining compatibility.
- RAM (Random Access Memory): Provides temporary storage for data being actively used by the CPU, essential for multitasking and gaming performance.
- Storage: SSD (Solid State Drive) or HDD (Hard Disk Drive) store your operating system, games, and files.
Tips for Choosing the Right Components
- Consider your budget and performance needs when selecting a CPU and GPU. Research benchmarks and reviews to find the best fit.
- Choose a motherboard that is compatible with your CPU and offers necessary features like PCIe slots for expansion.
- Opt for at least 16GB of RAM for gaming, ensuring smooth gameplay and multitasking capabilities.
- Decide between an SSD for faster load times or an HDD for larger storage capacity, or combine both for optimal performance.
Budget Planning
Setting a budget before building a gaming PC is crucial to ensure you get the best performance for your money. It helps you prioritize components and avoid overspending on features you may not need. Here are some strategies to help you balance performance and cost effectively.
Determining Your Budget
When planning your budget, consider the type of games you want to play and the performance level you desire. Research the prices of key components like the CPU, GPU, RAM, and storage to get an idea of how much you need to spend. Set a realistic budget that allows you to get the performance you want without breaking the bank.
Balancing Performance and Cost
– Prioritize components that have the most impact on gaming performance, such as the GPU and CPU. Allocate more of your budget to these critical components to ensure smooth gameplay.
– Consider future upgrades when selecting components. Investing a bit more in a higher-end CPU or GPU now can save you money in the long run by prolonging the lifespan of your PC before needing an upgrade.
– Look for deals and discounts to stretch your budget further. Keep an eye out for sales, bundle offers, and refurbished components to get more bang for your buck.
Where to Allocate More Budget
– Invest in a high-quality GPU for better graphics and smoother gameplay. The GPU is one of the most important components for gaming performance, so allocate a significant portion of your budget here.
– Consider investing in a larger SSD or faster RAM for quicker load times and improved overall system performance. These upgrades can enhance your gaming experience without a significant increase in cost.
Compatibility Check
When building a gaming PC, ensuring compatibility between components is crucial to avoid any performance issues or hardware conflicts. It’s essential to check if the CPU, GPU, motherboard, RAM, power supply, and other components work together seamlessly.
Step-by-Step Compatibility Check
Here is a step-by-step guide on how to check for compatibility between different components:
- Check CPU and Motherboard Compatibility:
Make sure the CPU socket type matches the motherboard socket type. Verify if the motherboard supports the CPU model you intend to use.
- Verify GPU and Motherboard Compatibility:
Check if the GPU interface (PCIe) is supported by the motherboard. Ensure the motherboard has enough PCIe slots for the GPU.
- RAM and Motherboard Compatibility:
Confirm the RAM type (DDR3, DDR4) and speed supported by the motherboard. Check the maximum RAM capacity the motherboard can handle.
- Power Supply Compatibility:
Ensure the power supply has the necessary connectors for all components. Check if the wattage is sufficient for the components’ power requirements.
Tools and Websites for Compatibility Check
There are tools and websites available to help users check compatibility before purchasing components:
- PCPartPicker:
PCPartPicker is a popular website that allows users to select components and automatically checks for compatibility issues. It provides warnings if any components are incompatible.
- Manufacturer Websites:
Visit the official websites of component manufacturers to access compatibility information. They often provide compatibility lists and guides for their products.
- Compatibility Checkers:
Some hardware manufacturers offer compatibility checkers that users can download to verify if components will work together effectively.
Overclocking
Overclocking is the process of increasing the clock speed of your CPU, GPU, or RAM beyond the manufacturer’s specifications to achieve better performance. While it can lead to improved gaming experiences, it also comes with risks if not done properly.
Benefits and Risks of Overclocking
When done correctly, overclocking can result in faster processing speeds, smoother gameplay, and better overall performance in games. However, it can also void warranties, reduce component lifespan, and potentially cause system instability if pushed too far.
Tips for Safely Overclocking Components
- Research your components: Make sure you understand the limits and capabilities of your CPU, GPU, and RAM before attempting to overclock.
- Use reliable software: Utilize trusted overclocking software to adjust clock speeds and voltages gradually.
- Monitor temperatures: Keep an eye on temperature levels to prevent overheating, which can damage components.
- Stress test your system: Run stability tests to ensure your overclocked components can handle the increased performance without crashing.
Best Practices for Monitoring Temperatures and Stability
- Install monitoring tools: Use software like HWMonitor or MSI Afterburner to track temperatures and performance metrics in real-time.
- Keep an eye on benchmarks: Compare your system’s performance before and after overclocking to gauge the improvements and ensure stability.
- Maintain adequate cooling: Invest in quality cooling solutions such as aftermarket CPU coolers or additional case fans to help dissipate heat effectively.
Cable Management
Proper cable management is essential in a gaming PC build for several reasons. It not only improves airflow within the case, which can help keep components cool and running efficiently, but it also enhances the overall aesthetics of the build. Neatly organized cables can make the inside of your PC look cleaner and more professional.
Techniques for Cable Organization
- Use cable ties or Velcro straps to bundle cables together neatly.
- Route cables behind the motherboard tray or through designated cable management channels in the case.
- Group cables based on their function (power, data, etc.) to make troubleshooting and upgrades easier.
Tools and Accessories for Cable Management
- Cable combs: These help align and separate individual cables, giving your build a more polished look.
- Cable clips or adhesive mounts: These can secure cables in place and prevent them from sagging or obstructing airflow.
- Modular power supply: Opting for a modular PSU allows you to use only the cables you need, reducing clutter inside the case.
Outcome Summary
In conclusion, mastering the art of building a gaming PC involves careful component selection, budget planning, compatibility checks, overclocking prowess, and impeccable cable management. By following these tips, you’re on your way to creating a powerhouse gaming setup tailored to your needs.
